When you picture weed, what is the first thing that comes to mind? For most people, it’s probably a joint. Cannabis lovers everywhere will likely agree that smoking a joint is the most universal, traditional and time-honoured way to enjoy our favourite green herb. When you’re in the mood to smoke, nothing is more exciting than getting your hands on a perfectly rolled joint that’s ready to go. If you’re able to roll up perfect joints every time, then read no further. Might as well light that baby up and get lit! Here at CAFE, we pride ourselves on perfecting our craft when it comes to anything weed related. So if you’re someone that needs a bit of guidance on how to roll the perfect joint, this post’s for you. Read on and learn how to roll your own joints with our step-by-step breakdown of the process.
The Perfect Joint
If you’re a regular weed smoker, you’ve surely seen many different kinds of rolls. Rolling a joint properly takes patience and practice, and the more you do it, the better your rolls will be. Taking the time to learn to roll your weed the correct way will actually result in a much better smoking experience. Poorly rolled joints may not burn properly, and may “canoe” or keep needing to be re-lit constantly. This often results in frustration, and wastage as the bud is not being burned efficiently. On the other hand, a well-rolled joint should burn steadily and evenly, allowing for a consistent smoking experience that allows you to focus on having fun. Keep reading to learn how to improve your rolling skills!
Gather Your Essentials
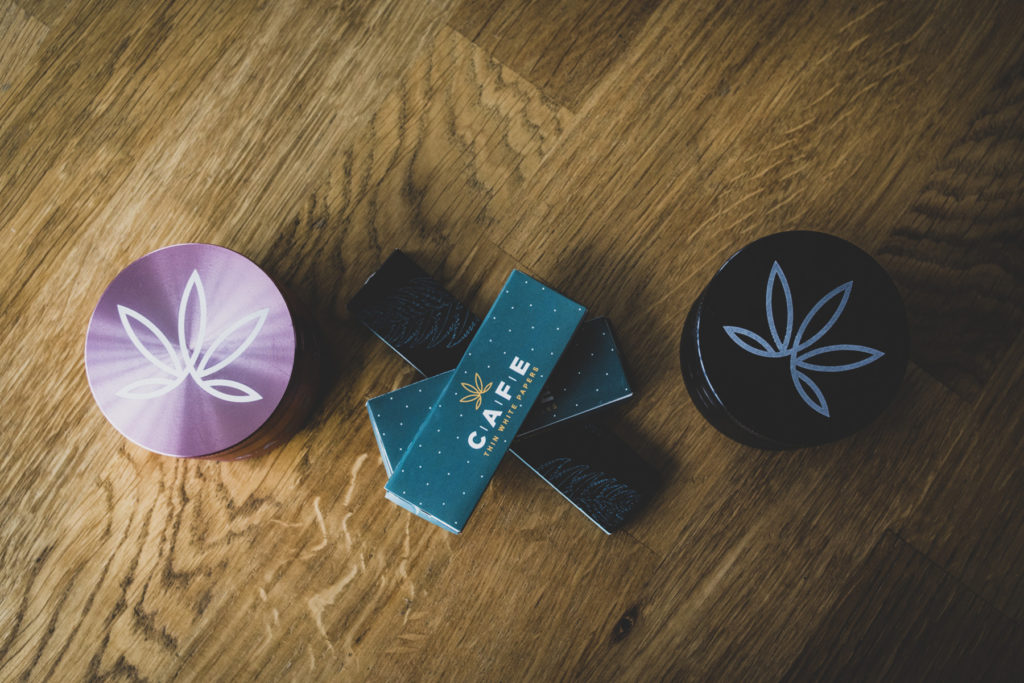
Make sure you have everything you need before you start. Pick out whatever strain strikes your fancy for the day, and make sure you have on hand:
- Rolling papers
- Grinder
- Filter (optional)
- Rolling Tray
- 1-2 grams of your favourite bud
Grind it Up!
Using a grinder helps to minimize sticky residue on your hands, and makes rolling your joint easier. Break up the buds gently with your fingers, and place them in the grinder. Grind it up until the flower is broken up finely and ready to be rolled up.
Don’t have a grinder? You can use scissors or even break the buds down with your fingers. Be prepared for the scissors and your fingers to get sticky though, and be patient with the process, as this takes more time. We definitely recommend using a grinder to make rolling easier.
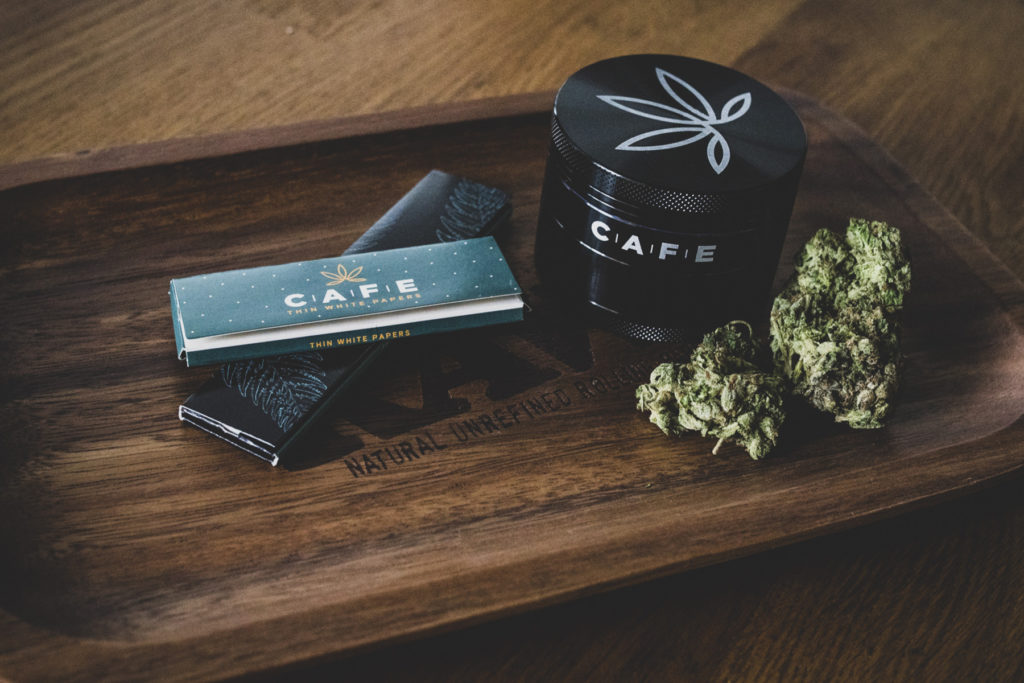
In this video, we’re using our CAFE 4 Piece Metal Grinder to break up our buds. This grinder is available in pink or black, and is an excellent choice thanks to its sturdy metal construction, and solid, high-quality feel. It also features a catch tray at the bottom, where the fine “kief” crystals collect over time as you use your grinder. Cannabis users love to sprinkle this powdery kief into the joint, once packed and ready to roll, for an extra special high. Try it out on your next roll!
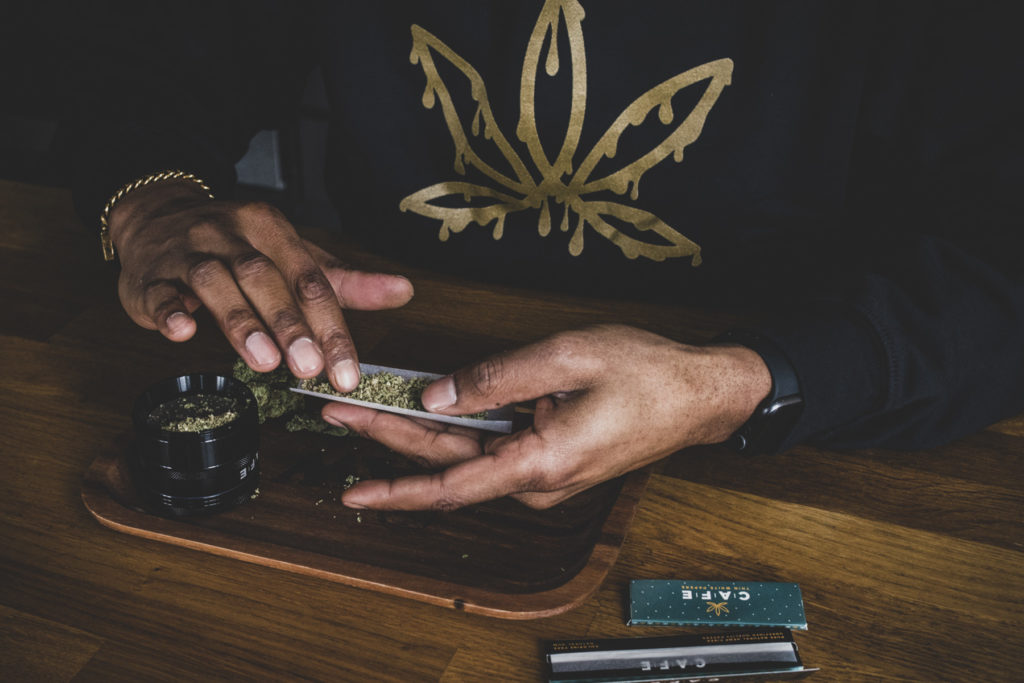
Fill the Joint
Now that your bud is ground up, it’s time to fill the joint. Grab a rolling paper of your choice, and put the finely ground cannabis onto it. Use between ½ a gram to one gram, and with your fingers, shape the bud into a cylindrical shape within the paper. Ideally, your bud should be sitting in the middle of the paper along the crease, and stretch more or less from end to end. You’ll want to leave some space at one end if you’re using a filter.
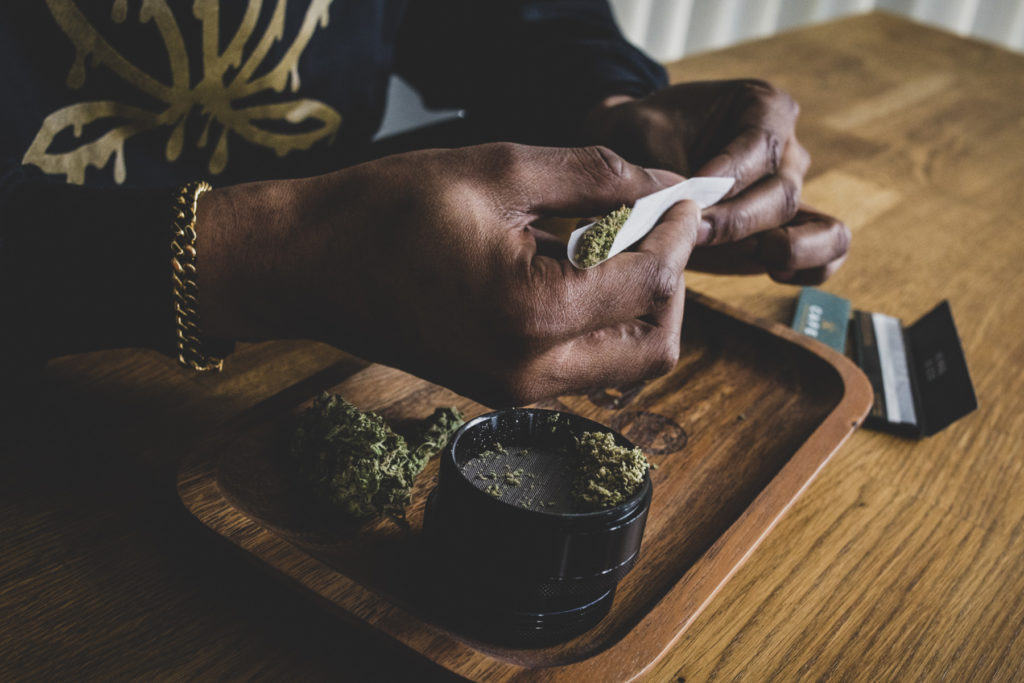
Pack the Joint
The next step is to pack your joint. This is how you’ll end up with a nice, tight and well-rolled joint that is symmetrical in shape, with no bumps and spaces. Take the bottom edge of the rolling paper and tuck it in, towards the cannabis. Then, pinch the two sides of the paper closer towards each other, and roll back and forth to shape your joint. Keep rolling until your flower has settled into the desired shape, and is packed tightly and consistently.

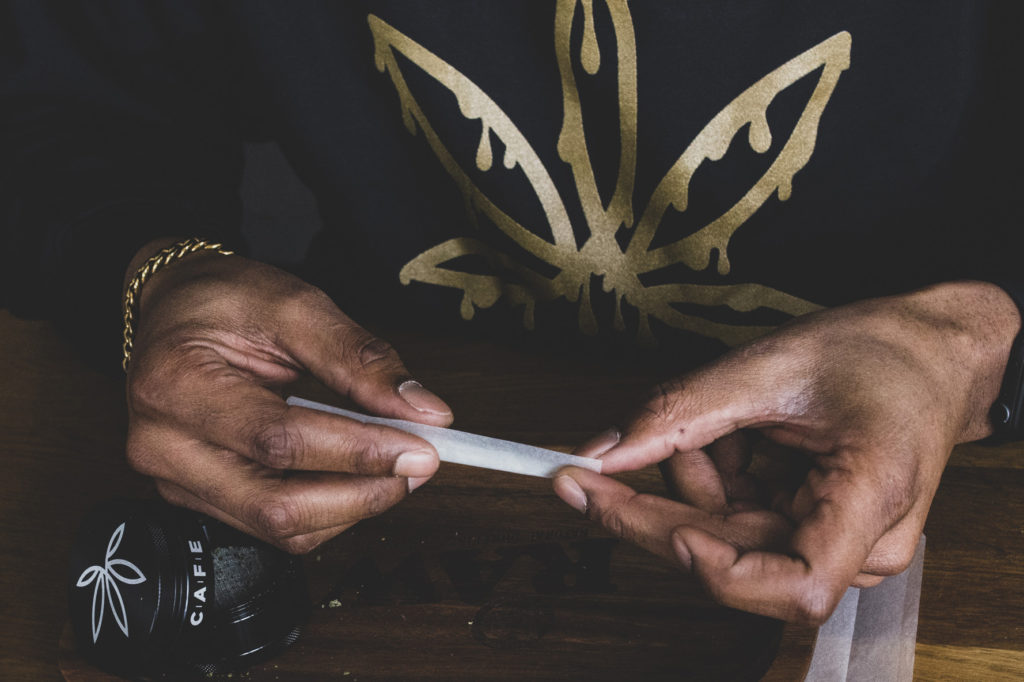
Seal it Up
Once your joint is well packed, it’s ready for the final roll. Tuck the non-glued side into the roll, and use a little moisture to wet one edge of the glue side and tack that edge down on one end of your joint. Most people lick the edge of the glue sided paper in order to moisten it. Once you’ve sealed the one side of your joint, continue to moisten the glue side as you pat it down, sealing the rest of the flower neatly inside your joint. Make sure your fingers are still pushing the two sides of the paper together, and keeping the joint as tight as possible. Once the glued edge is sealed down all the way, your joint should be fairly smooth, even and tightly rolled.
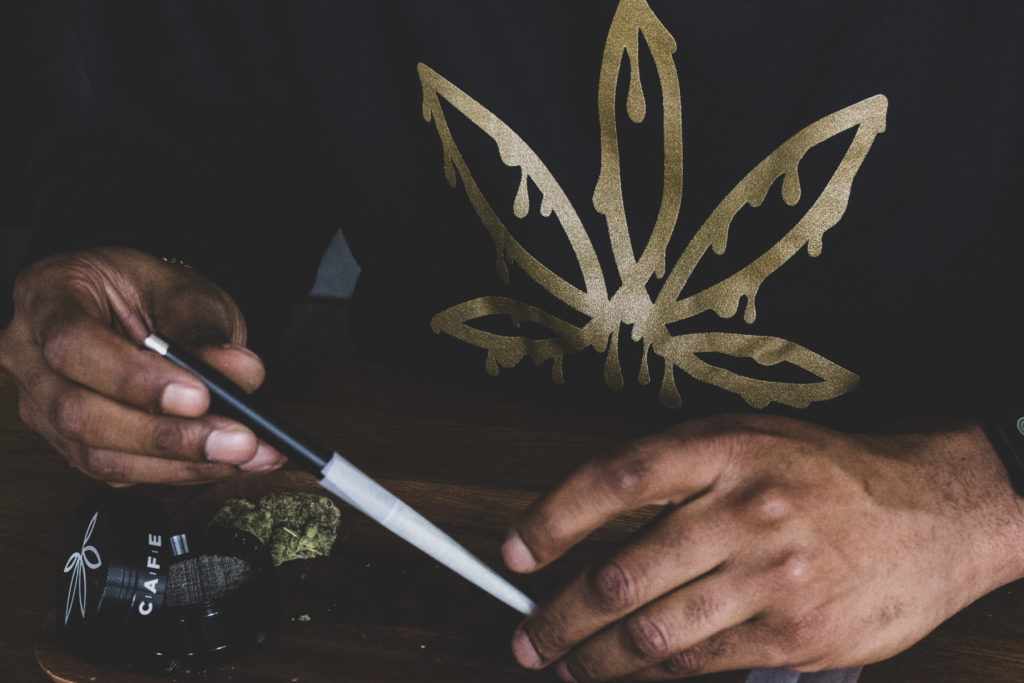
Use the Pokey
Every weed smoker knows that once the joint is rolled, it’s time for one last pack to ensure the bud is nice and tight, and there are no air pockets inside your roll. Those that smoke joints are all familiar with using a long, slender item such as a pen, chopstick or something similar to push down the weed from the open end, ensuring it’s packed as tight as possible. Once you do this, you will notice you have more room at the open end now that the flower has been pushed further in. This will allow you to twist the paper at the end, closing the joint, and finishing up your roll! Pro tip – If you want to ensure your joint is extra, EXTRA tight, hold it by the twisted paper end and shake back and forth gently. Then, twist the end a little tighter. Doing this a couple of times will ensure that any extra air is released from within the roll, closing up the gaps and making that joint even tighter.
Get Lit!
Congratulations, your joint is now officially ready to smoke! Grab the nearest lighter and spark that baby up. You earned it after all that hard work!